

Sue of Palatable Pastime invited us to bake with choux pastry for our January 2018 #BakingBloggers event. When I read the topic to the Enthusiastic Kitchen Elf, he shrieked "Croquembouche!" Fine. Here's what the other bloggers are sharing for this event.
- Boston Cream Puffs by Cookaholic Wife
- Burnt Caramel Croquembouche by Culinary Adventures with Camilla
- Cannoli Filled Cream Puffs by The Redhead Baker
- Cream Puffs with Ice Cream and Chocolate by Sneha’s Recipe
- Double Chocolate Cream Puffs by Cindy’s Recipes and Writings
- Gougères by Karen’s Kitchen Stories
- Ham Salad Pate a Choux by A Day in the Life on the Farm
- Hot Smoked Salmon Choux Bites by Food Lust People Love
- Strawberry Cream Puffs by Palatable Pastime
Burnt Caramel Croquembouche

Second, let me say that this is almost completely D's creation. I did make the burnt caramel, but that was about it! I wasn't sure I'd be able to pull off a choux pastry creation in time for the event. It helps to have an Enthusiastic Kitchen Elf in my corner!
The whipped cream is only flavored with vanilla and cinnamon as Jake and I are off sugar this month. Needless to say, we missed out on the whole caramel part of this dessert. But the puffs and cream alone were just amazing!
Ingredients

- 12 T unsalted butter
- 1-1/2 C water
- 2 C flour
- 9 eggs
Filling
- 2 C organic heavy whipping cream
- 1 t pure vanilla extract
- 1 t ground cinnamon
Burnt Caramel
- 2 C organic granulated sugar
Procedure

Preheat oven to 425°F.
Bring butter and water to a boil in a large saucepan. Remove pan from heat and add flour all at once. Stir vigorously with a wooden spoon until mixture forms a thick dough and pulls away from sides of pan, approximately 3 minutes. Return pan to heat and cook, stirring constantly, until dough is lightly dried, about 2 minutes more.

Transfer dough to a bowl, and let cool for 5 minutes; using a wooden spoon, beat in 8 eggs, one at a time, making sure each egg is completely incorporated before adding the next. Dough will come together and be thick, shiny, and smooth.


Lightly beat remaining egg with pinch of salt and brush each piece of dough with it.

Bake at 425°F until puffed and light brown, approximately 10 minutes. Reduce oven temperature to 350°, and continue to bake until well browned, approximately 15 minutes. Let cool. While the puffs cool, make your filling.

Filling
Place ingredients in a large mixing bowl. Beat cream until stiff peaks form.

Place filling into a pastry bag or other decorating tool. Insert a chopstick into the bottom of the puff to open it up a bit, then fill.


Caramel
Place sugar in medium sauce pan. Cook until smooth and amber, approximately 15 to 20 minutes. I was running back and forth, taking photos, and watching the caramel. Clearly, I didn't do a great job; the caramel burnt. Thankfully, D said, "Oh, that's even better, Mom. I love burnt caramel." Nice.
Assembly


Dip the puffs in the caramel, again, and stack them to form a conical shape.

Once the tower is the height you want, dip a fork in the caramel and swirl it around the tower to form the caramel threads.

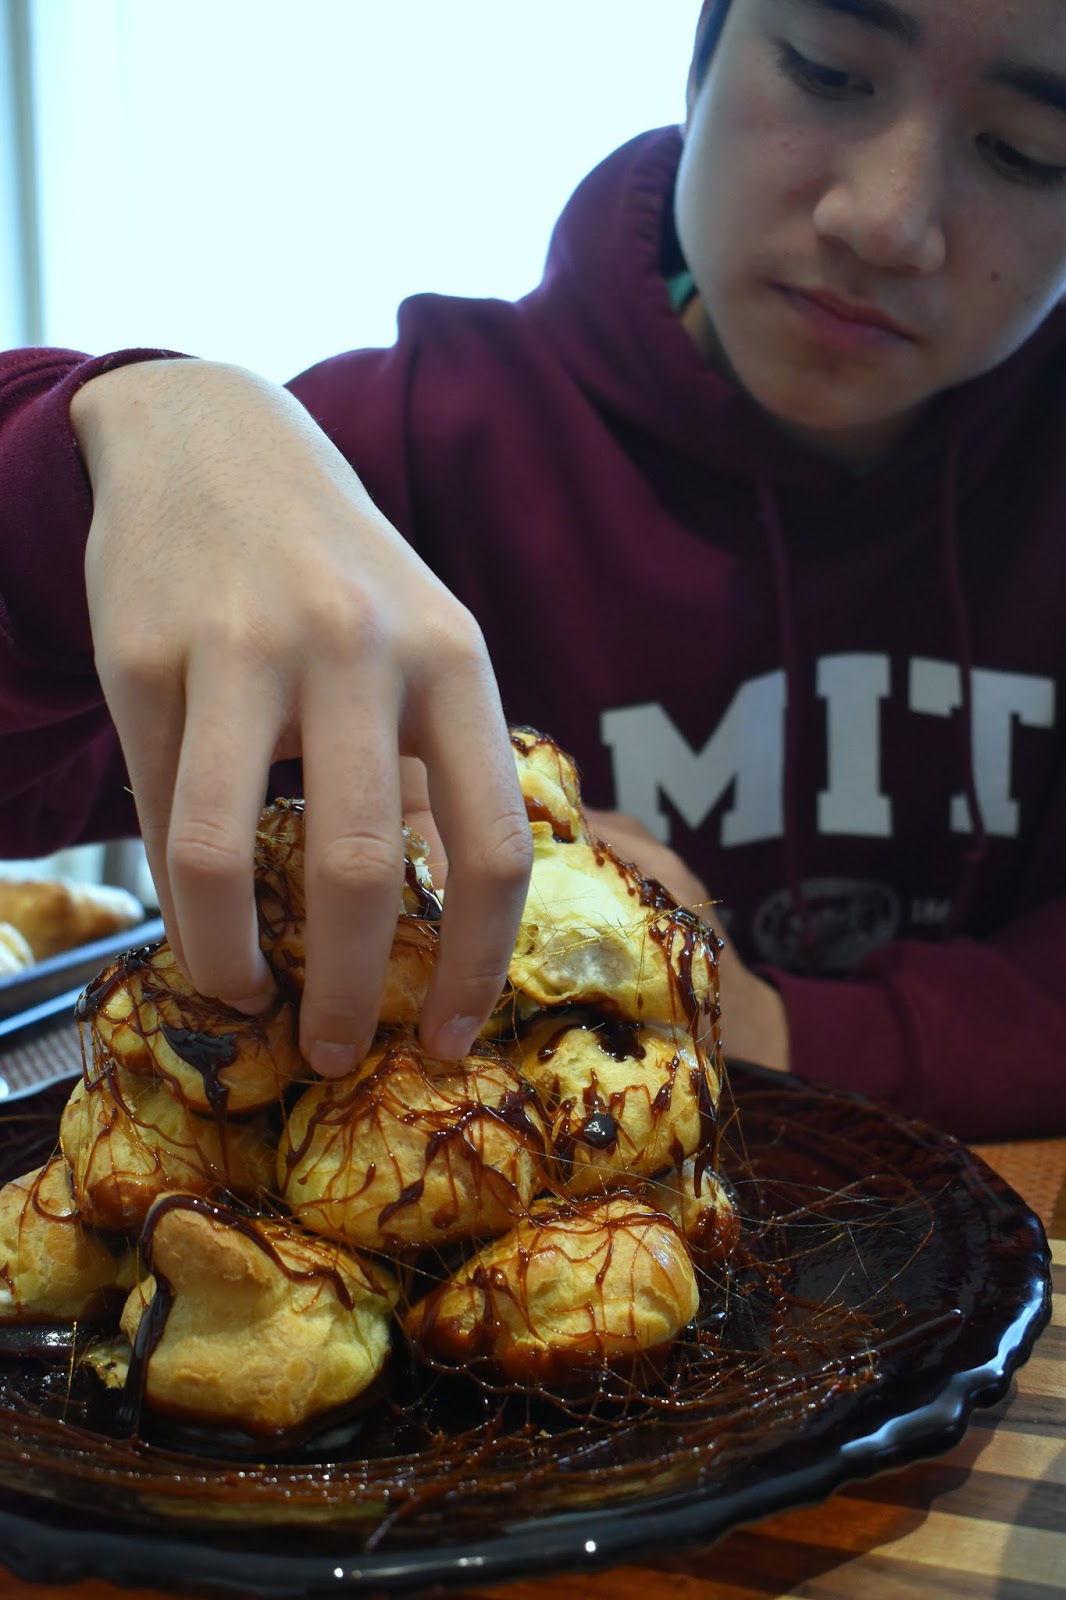
He was pretty darn proud of himself! And, I'll admit, I was pretty darn proud of him, too.

When we called the family to the table, everyone just marveled at the creation. Then R dug in!

We definitely need to make this again when Jake and I can eat sugar. February can't come soon enough, right?

Thanks, Sue, for the inspiration to make this. It was a fun project!
What a great creation and I love that you gave directions for making the pastry using spoons instead of a pastry bag.
ReplyDeleteIt's so funny, when I used to make cream puffs with my mom, we always used the spoon method. I never even knew people piped them until recently.
DeleteYour elf knows cooking magic! He is right to be proud. Thanks for baking with the group and may sugar day hurry up!
ReplyDeleteThanks, Sue. I'm glad I was able to squeak in with a post. Can't wait to try some of the savory versions this month...then, in February, I'm going for the sweets!
DeleteThis would make a great brunch centerpiece! Delicious!
ReplyDeleteThat is pretty spectacular! What a fun mom/son thing to do. And you even filled them!
ReplyDeleteOMG! These look so decadent. It's so nice to see your children enjoying making these.
ReplyDelete